Configure Analysis Settings
The Analysis Configuration page allows you to create a new analysis by selecting a product and the required report type. The available report types enable you to perform various analyses based on your business requirements.
Open Analysis Configuration
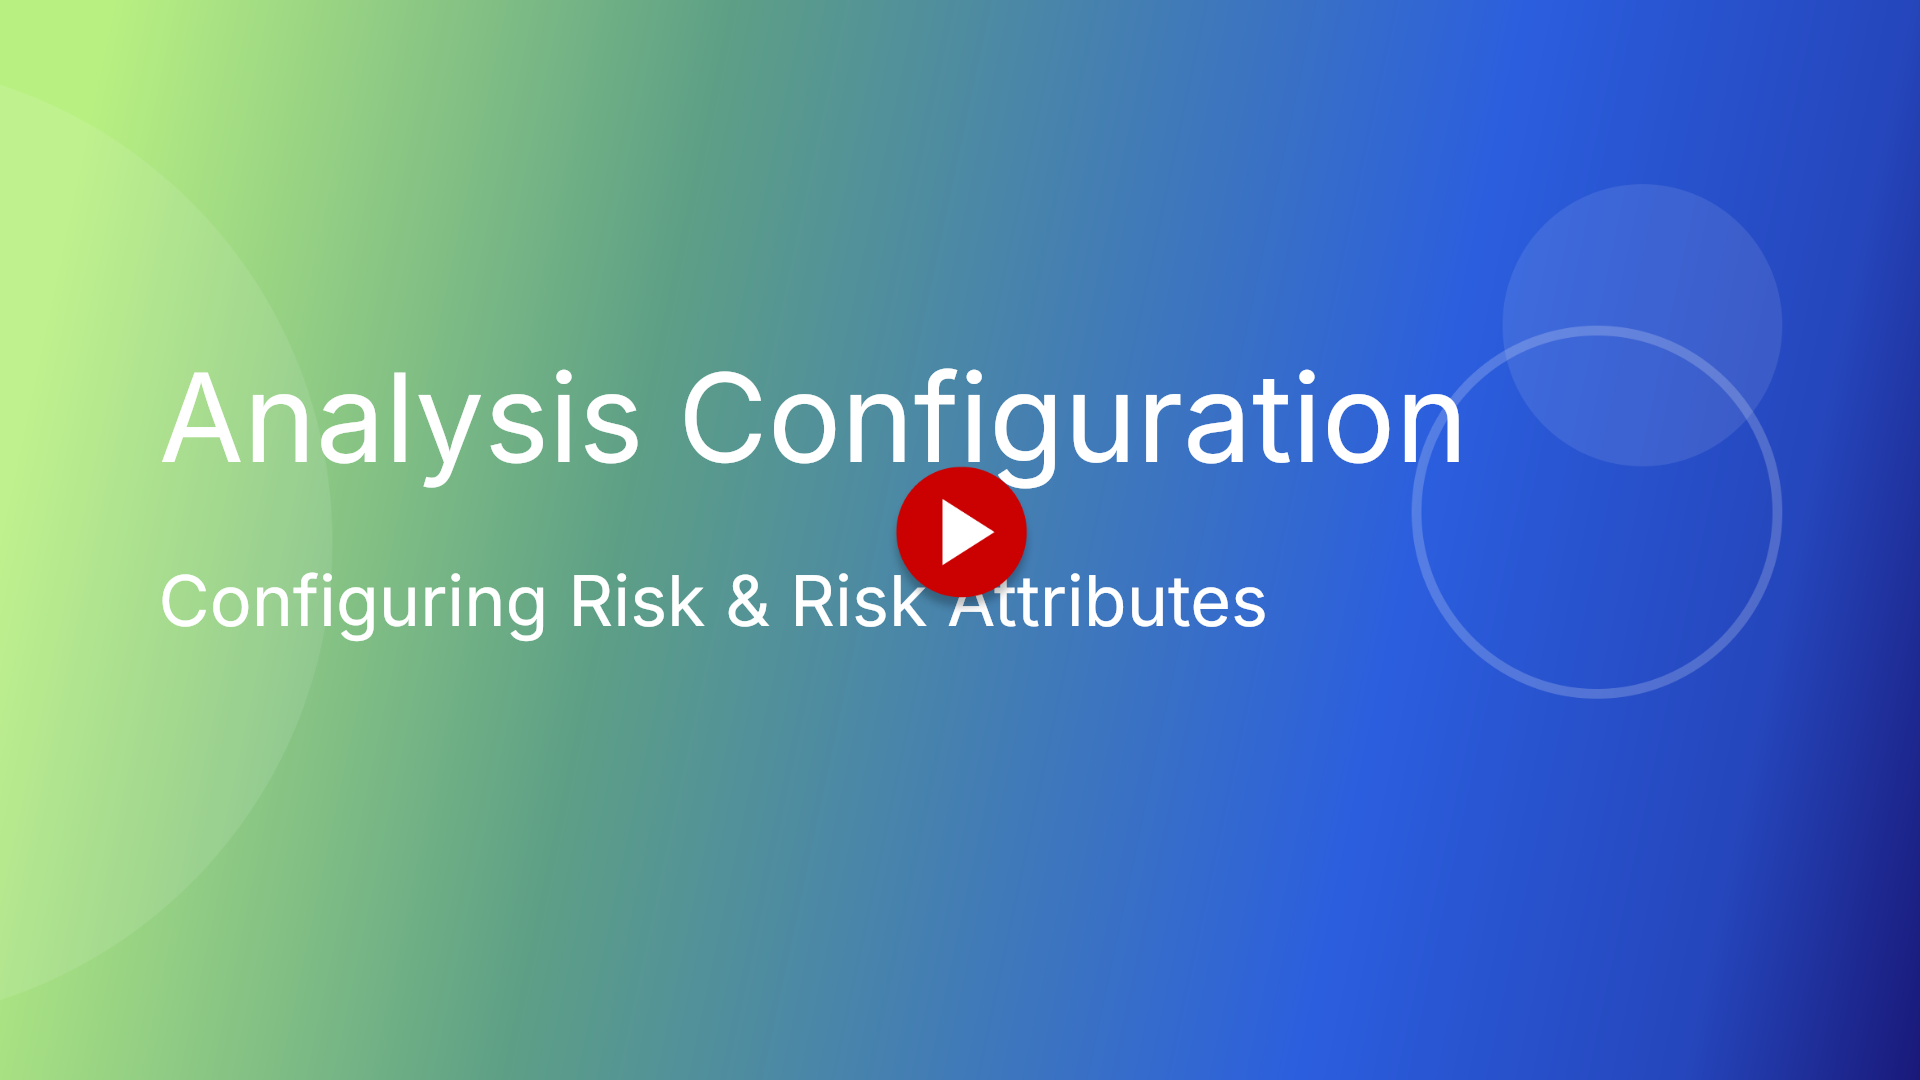
Click "Analysis Configuration" in the top navigation bar to access the analysis settings section within the What-If admin panel.
Create a New Analysis Configuration
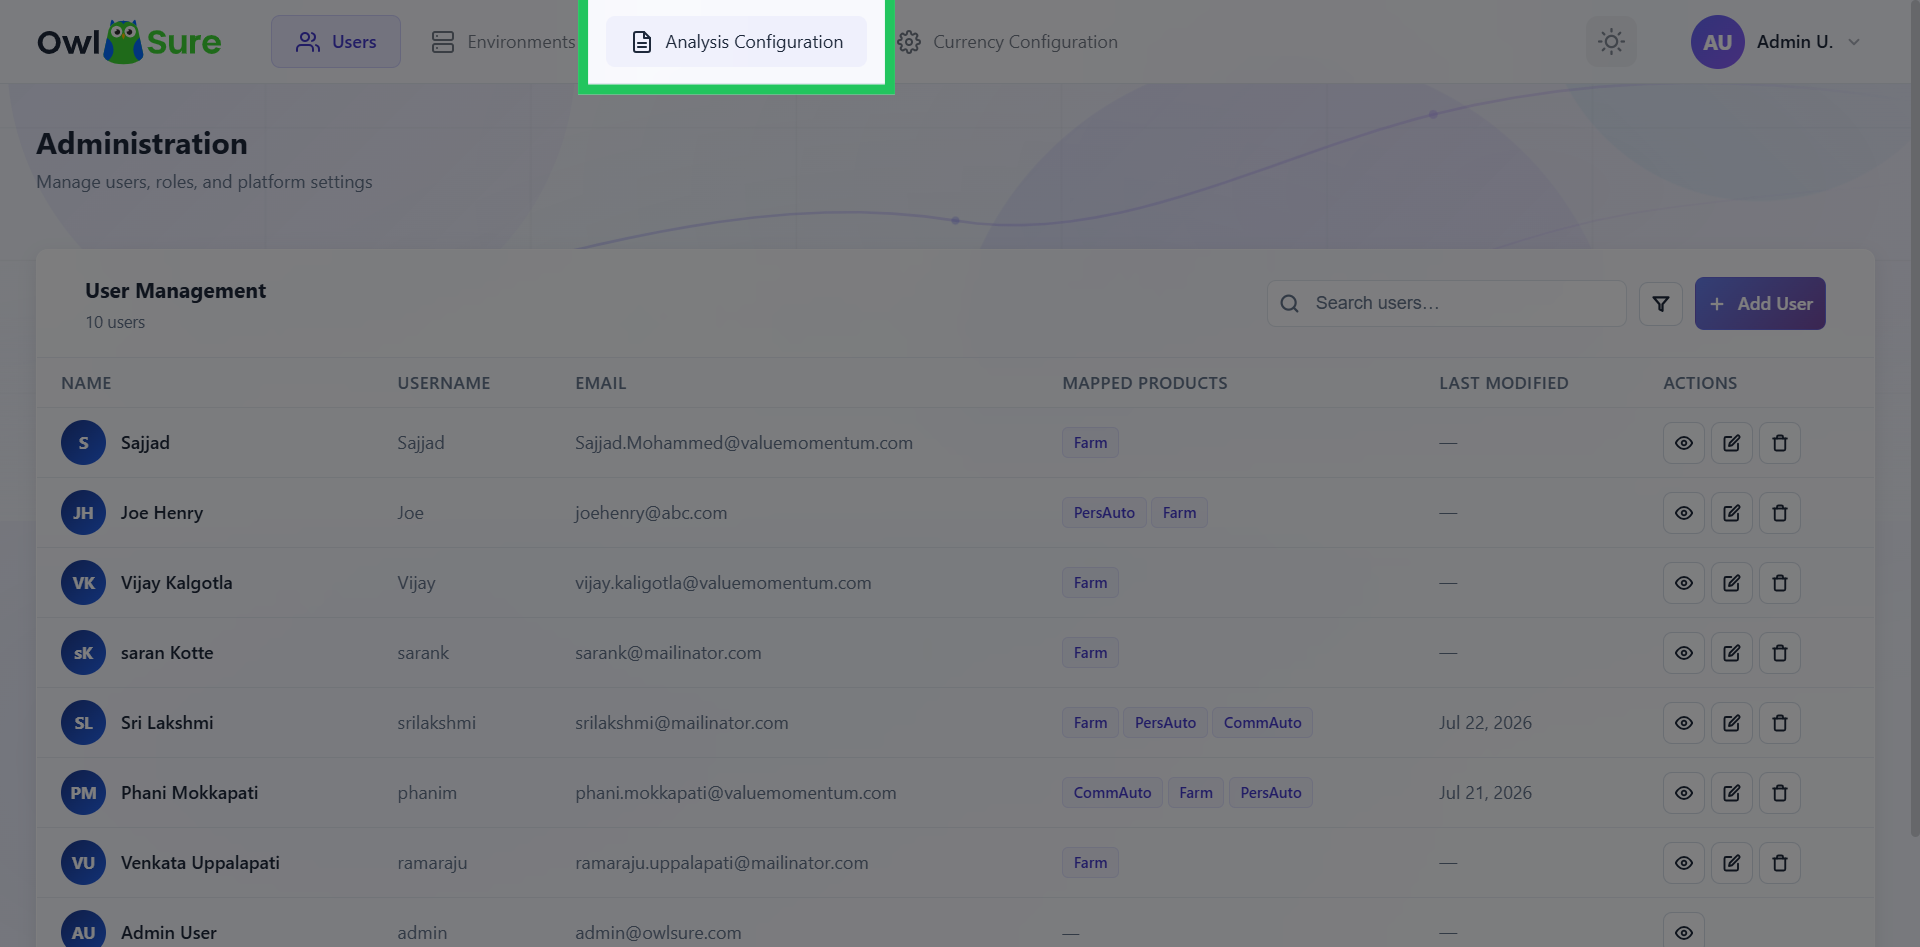
Click "Add Analysis Configuration" to begin creating a new analysis. This opens the configuration workflow and allows you to define the required settings.
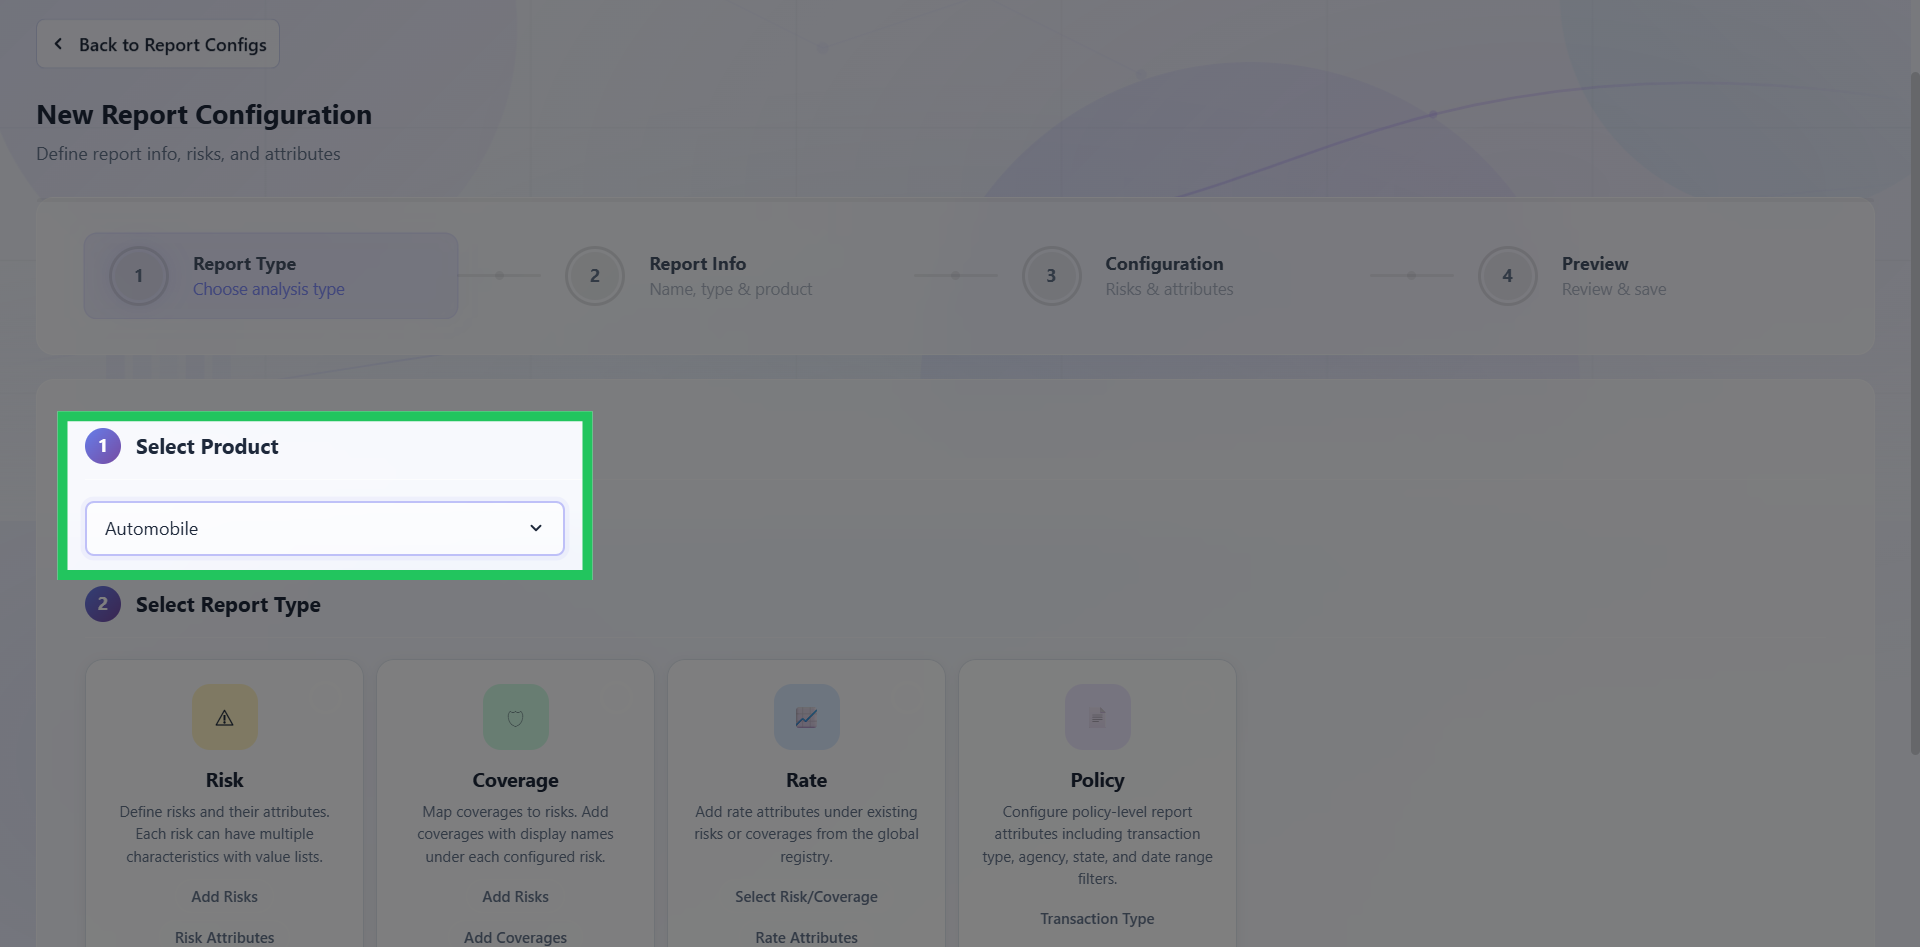
Select Product for Analysis
Open the Product drop-down menu and select the product for which you wish to configure the analysis. The available configuration options will update based on your selected product.
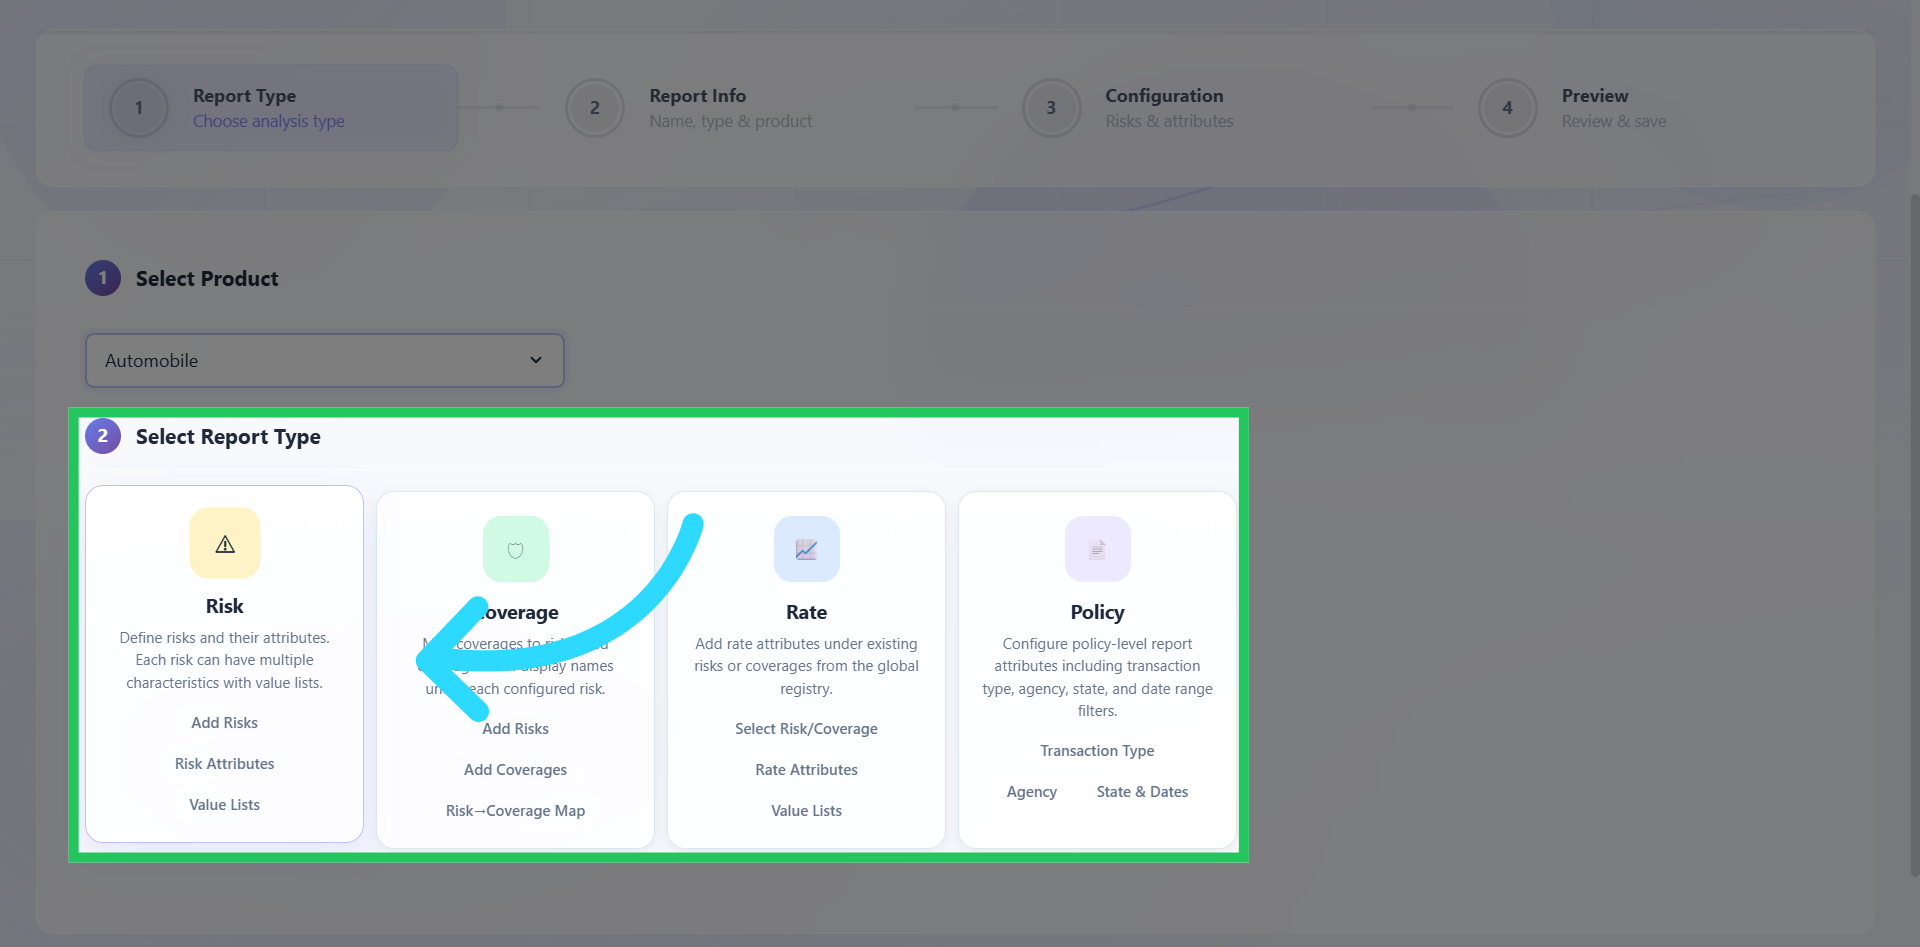
Choose a Report Type
Select the report type that best aligns with your analysis requirements. The report type determines the configuration options and settings available in the subsequent steps. Click "Next" to proceed to the Configuration page.
Configure Risk Analysis
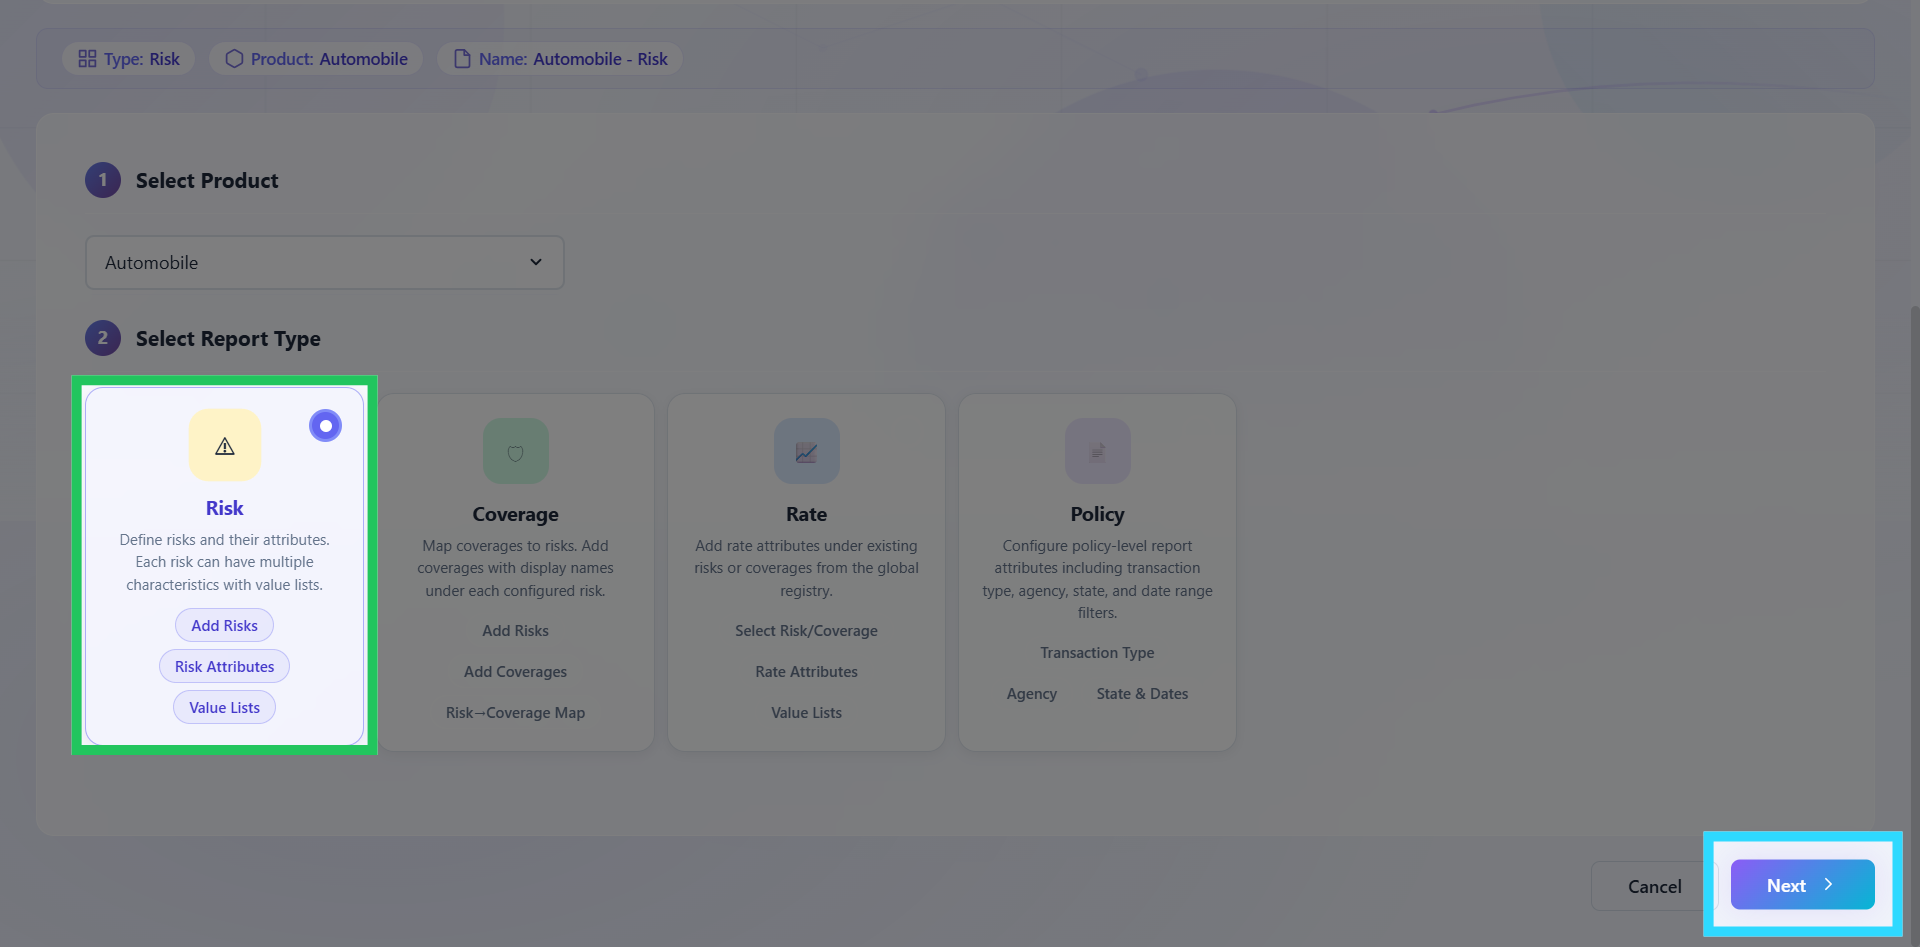
Select Risk from the list of report types.
Configure Risk Analysis
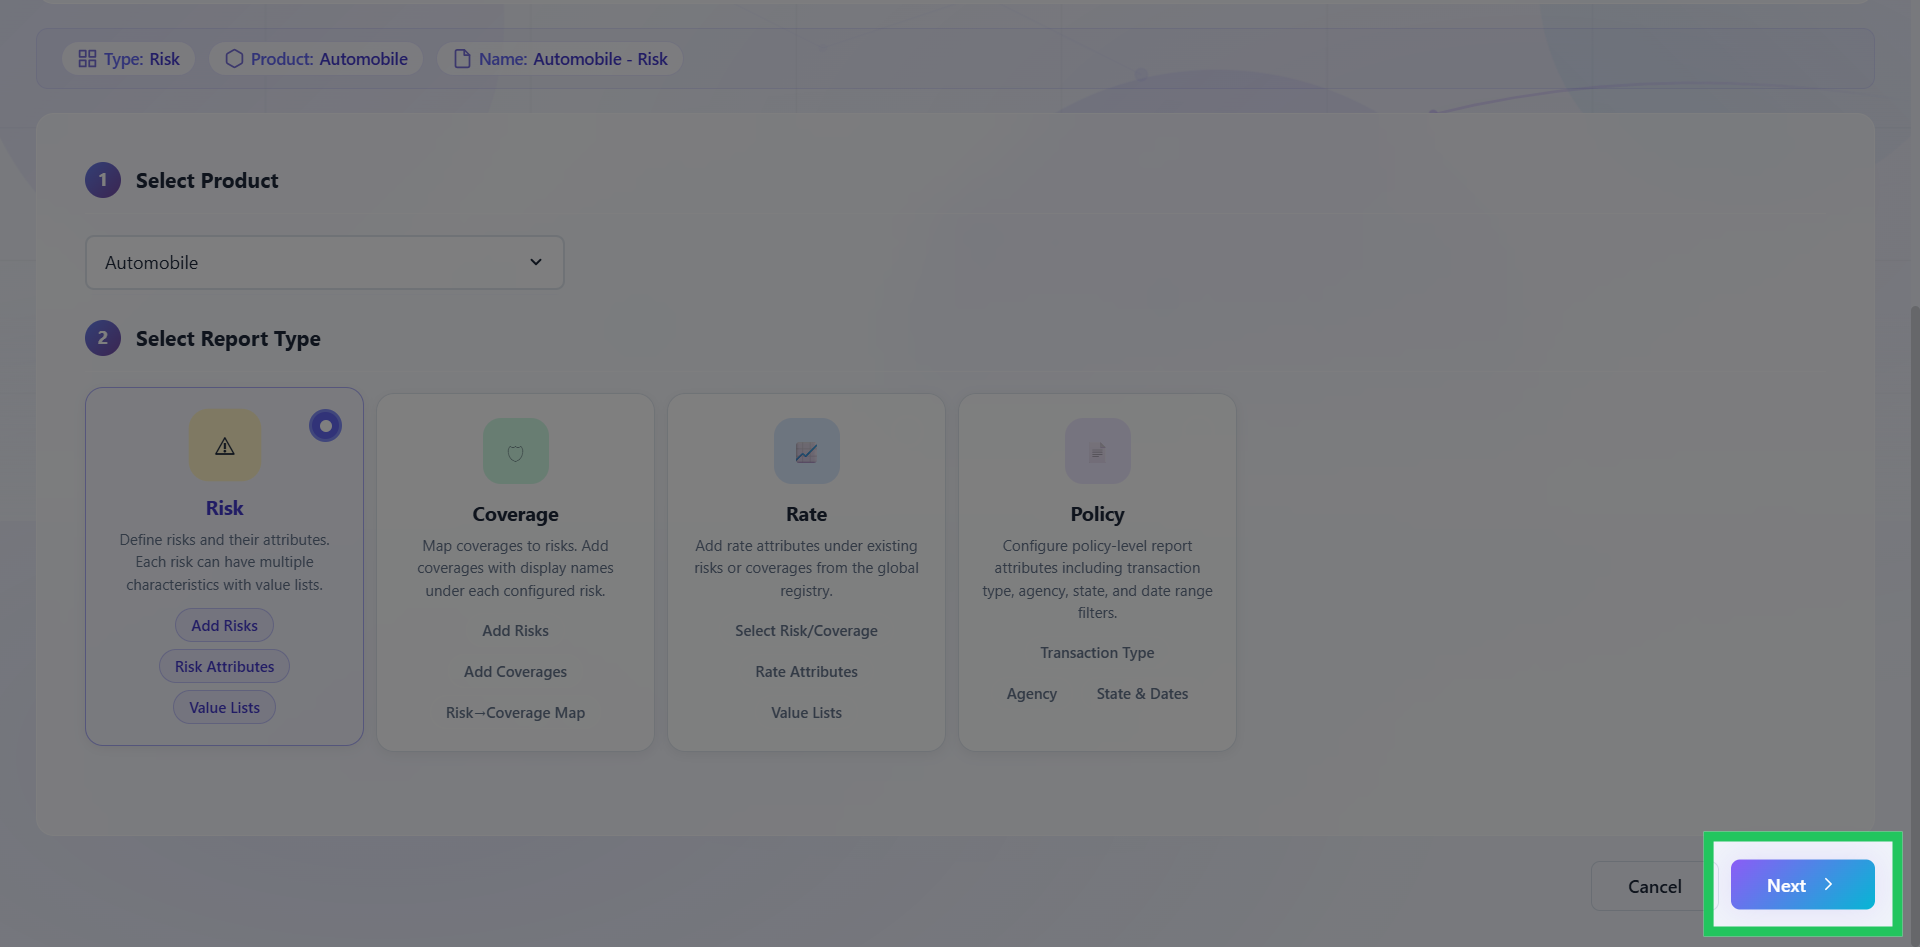
Click "Next" to proceed to the Configuration page.
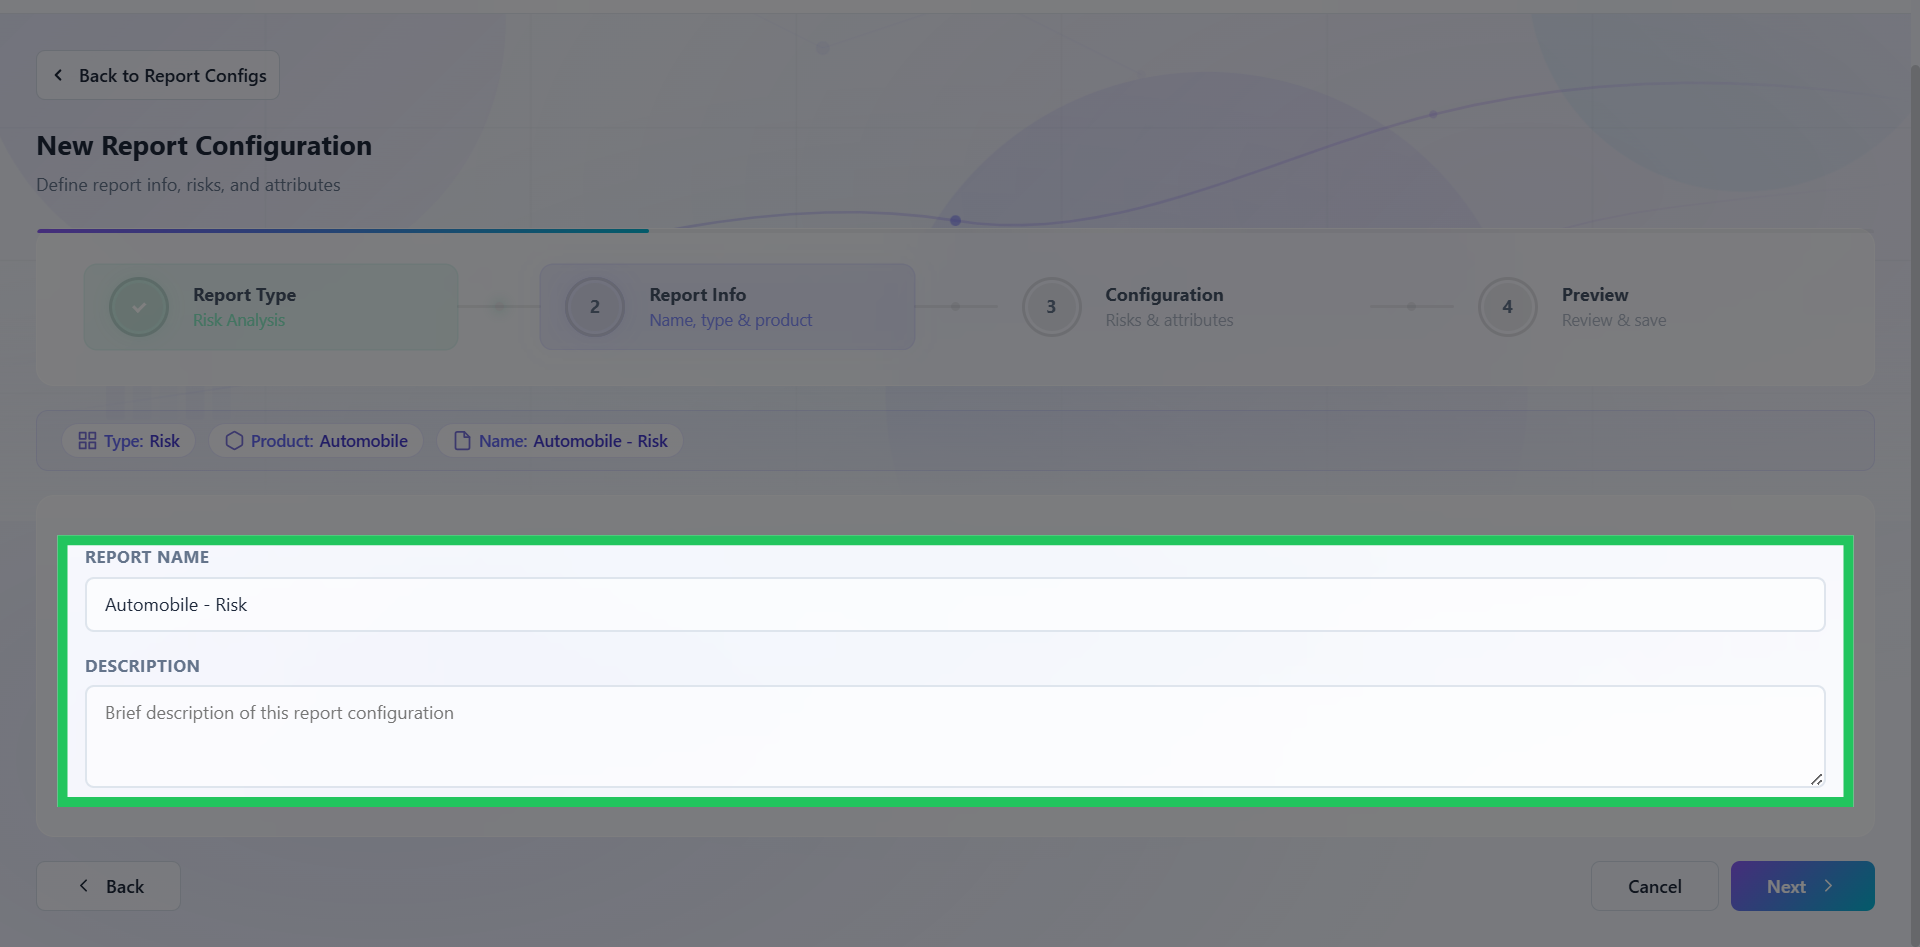
Configure Report Info
Enter the desired report name along with a description. Click "Next" to configure analysis for a risk report.
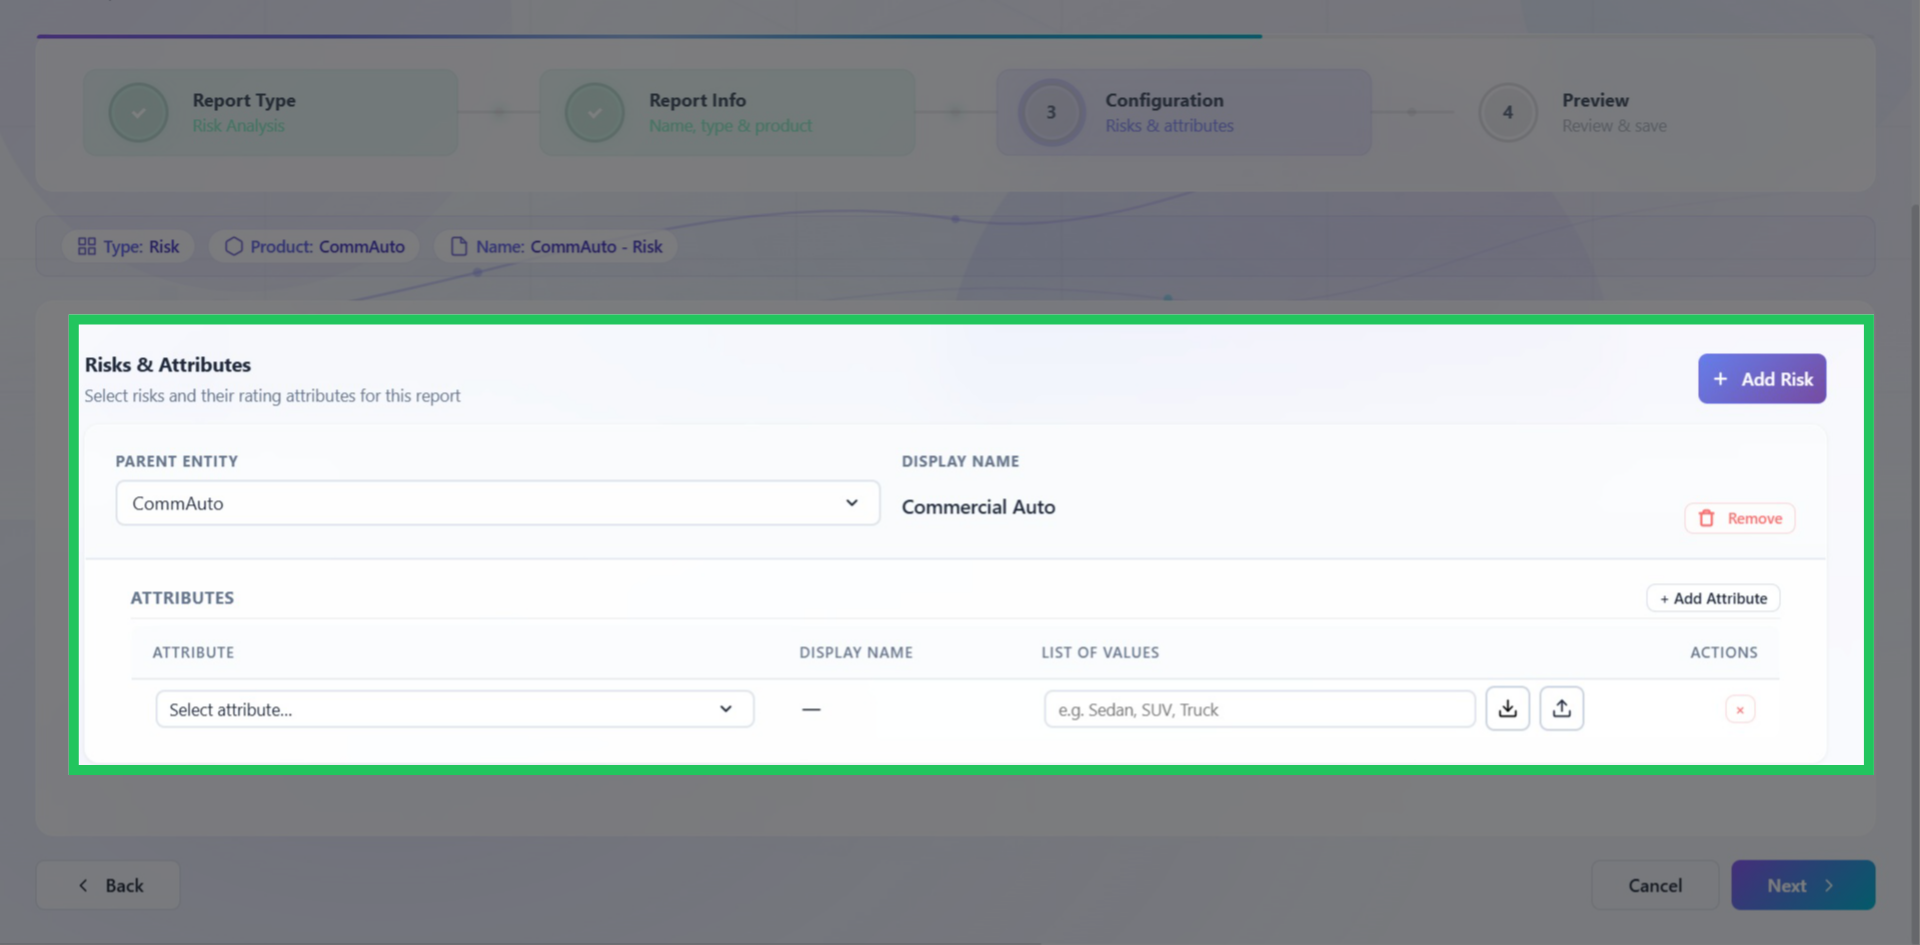
Configuring Risk
Click "Add Risk" to create a new risk and select the appropriate Parent Entity.
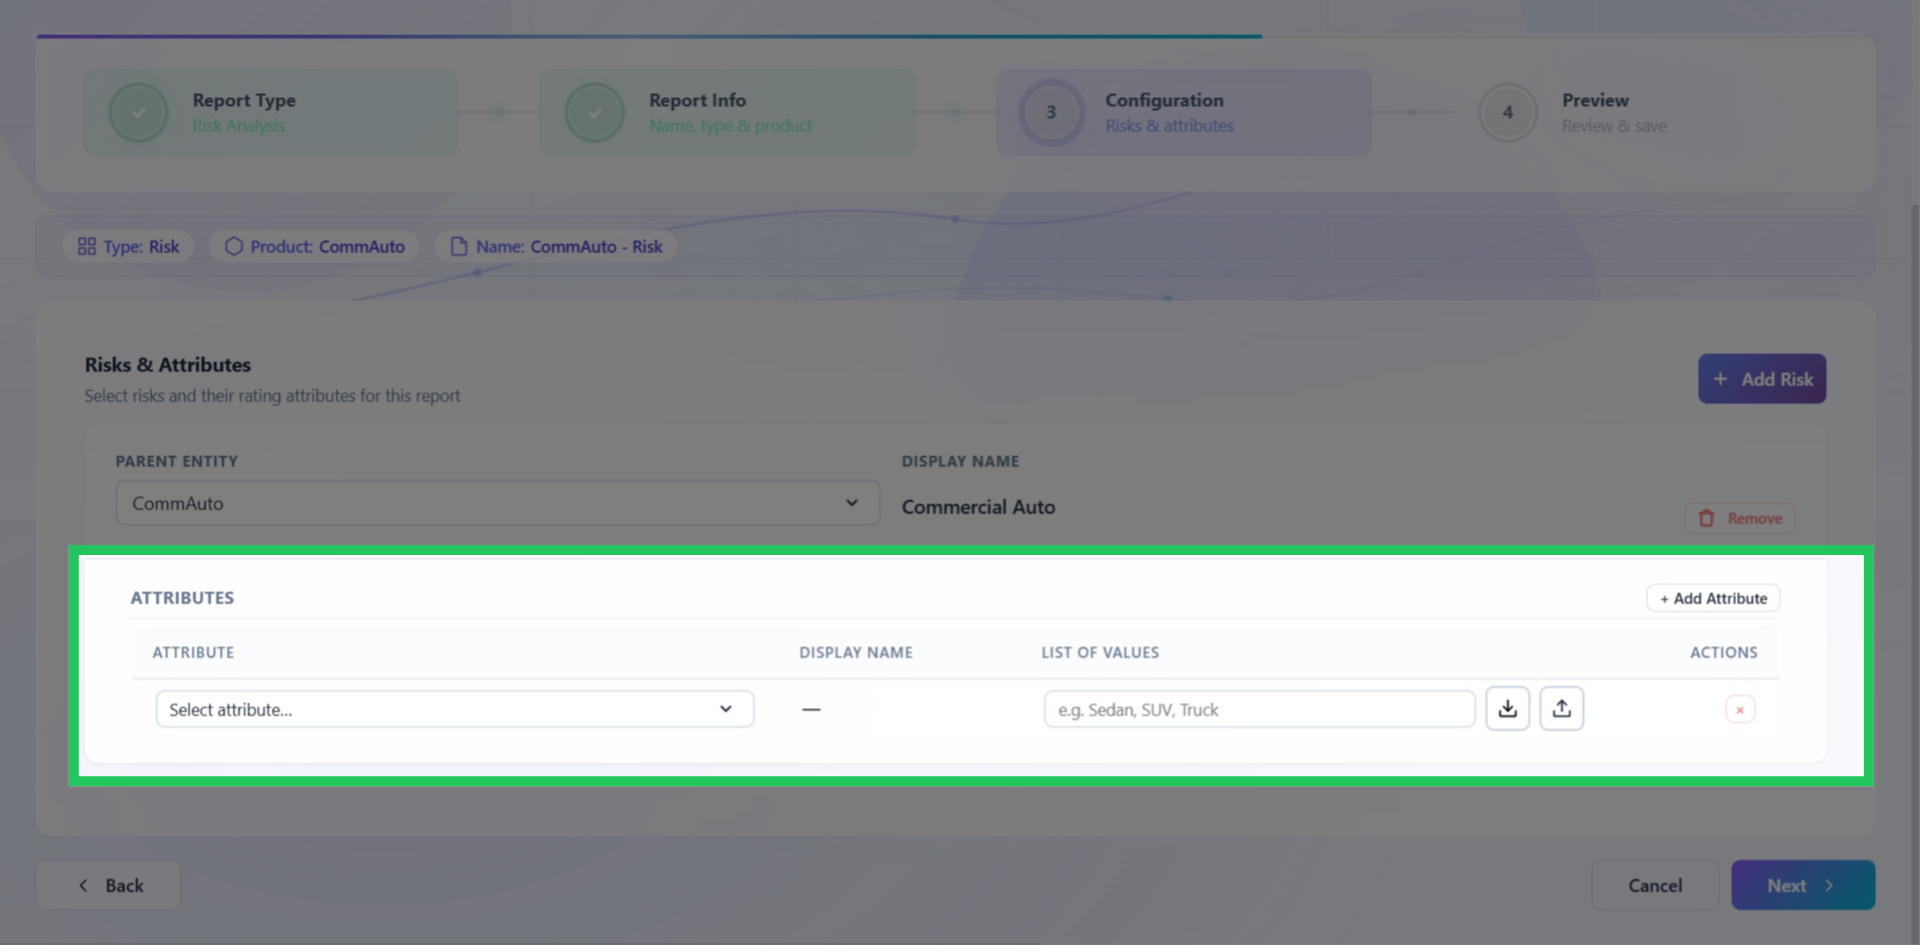
Adding Risk Attributes
Click "Add Attribute," choose the risk attribute from the drop-down menu, and provide a list of applicable values.
Preview & Save the Configuration
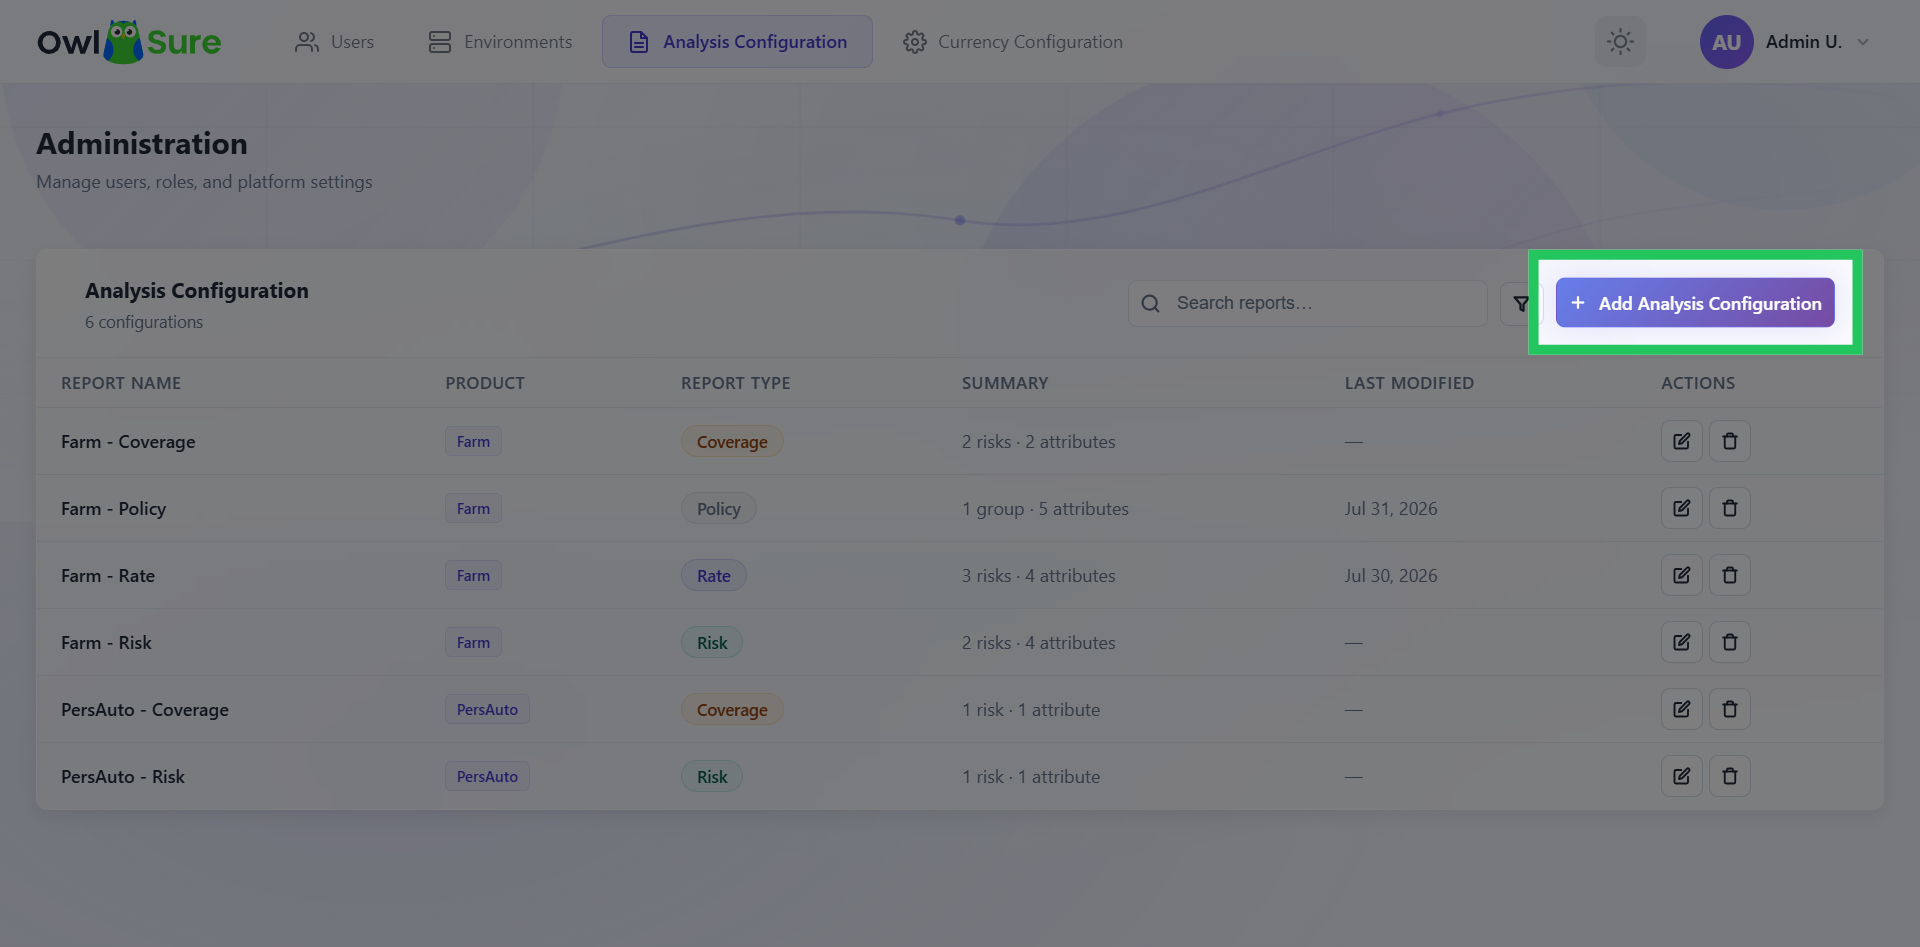
Verify that the configured risks and attributes are displayed correctly and click Save Config to finish.